Updated July 12, 2026 · 10 min read
The short answer
Small Vancouver, WA bathrooms — common in Hough, Carter Park, and Shumway bungalows and central-city condos — work best with wall-mounted or corner vanities, a curbless or corner shower sized to NKBA's 36"x36" minimum, a pocket door to reclaim swing space, layered lighting with a large mirror, and large-format tile run floor to wall. NKBA recommends 30" of clear floor space at each fixture as the baseline for a bathroom that feels functional rather than cramped.
Key takeaways
- Vancouver's oldest neighborhoods — Hough, Carter Park, Shumway, and Arnada — are built out with early-1900s Craftsman and bungalow homes, and central Vancouver condos add their own compact-footprint constraints, both predating modern fixture sizes and plumbing runs.
- NKBA's Bath Planning Guidelines recommend 30" of clear floor space in front of the toilet, sink, and shower/tub, and a minimum 36"x36" interior for a one-person shower.
- ICC A117.1, the national accessibility standard referenced by most state codes including Washington's, sets a 30"x48" clear floor space at each fixture and specific minimums for transfer (36"x48") and roll-in (30"x60") showers.
- A pocket door reclaims the 6-10 sq ft a swinging door needs to clear — often the difference between a workable layout and a cramped one in a bungalow-era bath — but This Old House's Tom Silva stresses quality hardware, since cheap track systems bind and rattle.
- A corner shower or curbless entry can free up floor area a straight-run shower can't, and large-format tile run continuously from floor to wall reduces the grout lines that visually shrink a small room.
- Wall-mounted and corner vanities, plus a large mirror and layered lighting, do more to make a small bath feel bigger than any paint color — NKBA puts the sink centerline at least 20" from a side wall as the baseline for comfortable use.
Why so many Vancouver bathrooms are this small
Vancouver is the oldest city in Washington, and its close-in neighborhoods show it: Hough, Carter Park, Shumway, and Arnada are built out with Craftsman bungalows and early-1900s cottages, most with a single 5x7 or 5x8-foot bathroom that was the only full bath in the house from the day it was built. Plumbing runs, wall placement, and door swings in these homes all predate the fixture sizes we install today. Central-city Vancouver condos near Uptown Village and the Columbia River waterfront present a related but different problem — modern construction with a genuinely tight footprint dictated by the building envelope rather than the era.
Either way, the small footprint isn't a flaw to apologize for; it's a design constraint with real solutions, most of which come down to choosing fixtures and layouts sized for the room instead of retrofitting standard 2020s fixtures into a floor plan that was never meant to hold them. The rest of this guide works through those solutions in order, starting with the clearance numbers that should drive every decision.
The clearance math: what the standards actually require
Before picking finishes, it helps to know the real minimums a small bathroom has to work around. NKBA's Bath Planning Guidelines recommend 30" of clear floor space in front of the toilet, the sink, and the shower or tub, and a minimum 36"x36" interior for a one-person shower — those are planning recommendations for comfortable use, not a legal minimum, but they're the baseline a well-designed small bath should hit wherever the room allows it.
ICC A117.1, the national accessibility standard most state building codes (including Washington's) reference for compliant construction, is more specific: a general 30"x48" clear floor space at each fixture, a 36"x48" clearance for a transfer shower, and a 30"x60" footprint for a roll-in shower. Toilet clearance is 60" measured perpendicular from the side wall and 56" from the rear wall, with the toilet centerline set 16"-18" from the side wall. Where a household needs full accessibility, the U.S. Access Board's ADA guidance adds a 60" turning space — though it also notes door swings are permitted to overlap that turning space, a detail that matters in a genuinely tight retrofit.
In a 5x7 room, hitting every one of these numbers simultaneously usually isn't possible — the numbers overlap and compete for the same square footage. What they're useful for is triage: knowing which clearance to protect (toilet and shower access) and where a slightly tighter number is a reasonable trade-off (vanity approach), instead of guessing.
Space-saving vanities
The vanity is usually the easiest fixture to downsize without hurting function. NKBA's guidelines put the sink centerline at least 20" from a side wall for comfortable use — a number worth checking before assuming a corner or narrow-wall vanity will actually work in a specific room.
A wall-mounted (floating) vanity keeps the floor visible underneath it, which does more for the sense of space than its footprint alone suggests — This Old House notes that "the more floor you see, the bigger the space will feel." A corner vanity or a slim pedestal sink solves the same problem in a room too narrow for a standard cabinet run, and in a Hough or Carter Park bungalow bathroom with an awkward door or window placement — or a central-city condo bath shaped by the unit's plumbing wall — a corner unit often turns dead space into the only usable sink location.
For the tradeoffs between floating, pedestal, and cabinet vanities in more depth, see our bathroom vanity buying guide.
Corner and curbless showers
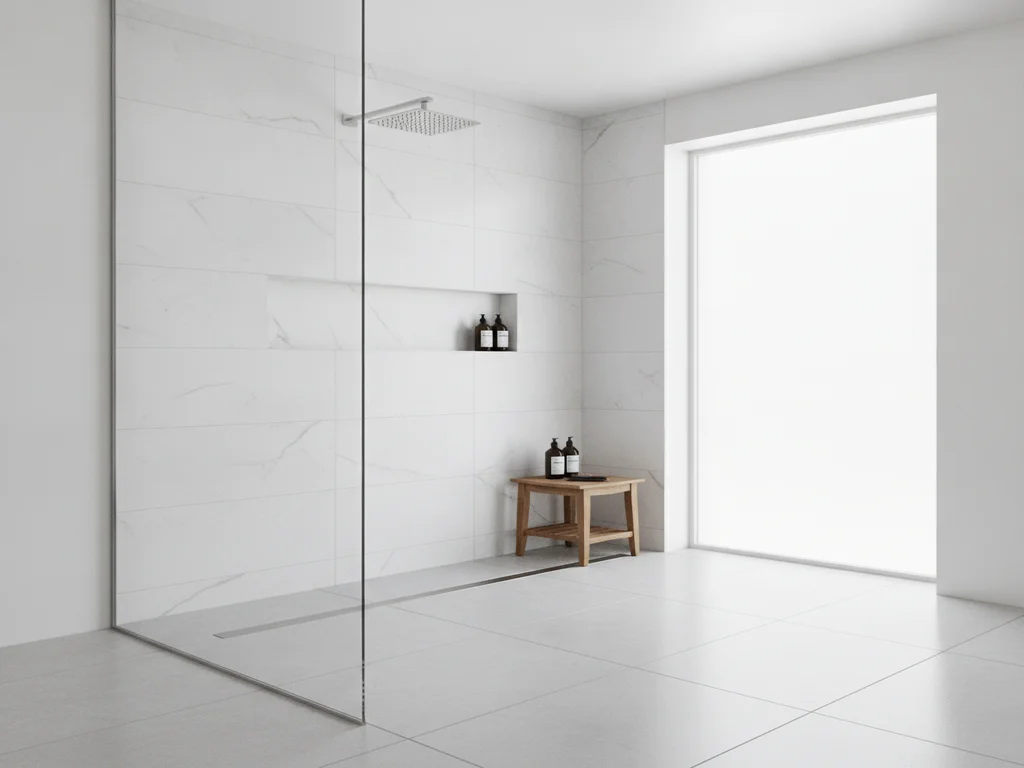
Squaring off an angled or corner shower stall — a common configuration in older homes where the shower was added into a leftover corner — can reclaim usable floor area elsewhere in the room, a fix This Old House points to directly. Sized to NKBA's 36"x36" recommended minimum with a frameless glass enclosure, a corner shower reads as open rather than boxed-in, which matters more in a small room than in a large one.
A curbless shower takes the same idea further: no raised threshold to step over, and no visual break between the shower floor and the rest of the room, so the whole footprint reads as one continuous space instead of a room-within-a-room. In a marine climate like Vancouver's, a curbless entry also needs correct slope and waterproofing at the transition — not just a design choice but a build-quality one. If the existing tub in a small single bath isn't getting used, converting it to a curbless or corner shower is often the single highest-impact layout change available; see our tub-to-shower conversion services for what that involves.
Pocket doors: reclaiming the swing
A standard swinging door needs a clear arc — roughly 6 to 10 square feet depending on the door width — that can't hold a vanity, a hamper, or even comfortable standing room. In a 5x7 bathroom, that arc is often the difference between a layout that works and one that doesn't. Replacing a swinging door with a pocket door that slides into the wall cavity eliminates that dead zone entirely.
The tradeoff is worth knowing going in: This Old House's Tom Silva warns that cheap pocket-door hardware produces "grinding and scraping noises" over time, so the hardware quality matters more here than on almost any other bathroom fixture. A pocket door also requires opening the wall the door will slide into, which is a bigger scope item in an older Hough or Shumway home if that wall carries plumbing or wiring — worth confirming before committing to the layout.
One wall, one decision
In a lot of Hough and Carter Park bungalow floor plans, the bathroom door swings directly into the only wall long enough for a vanity. Converting that one door to a pocket door is frequently the single change that unlocks the rest of the layout — everything else in this guide gets easier once that swing is gone.
Mirror and light tricks
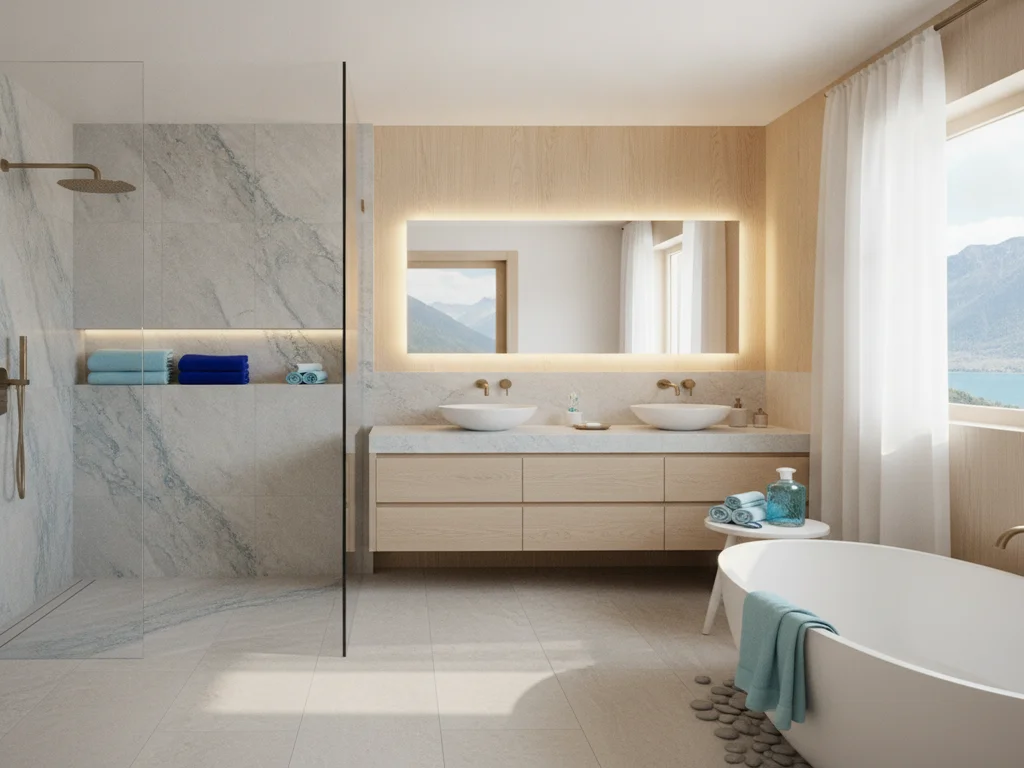
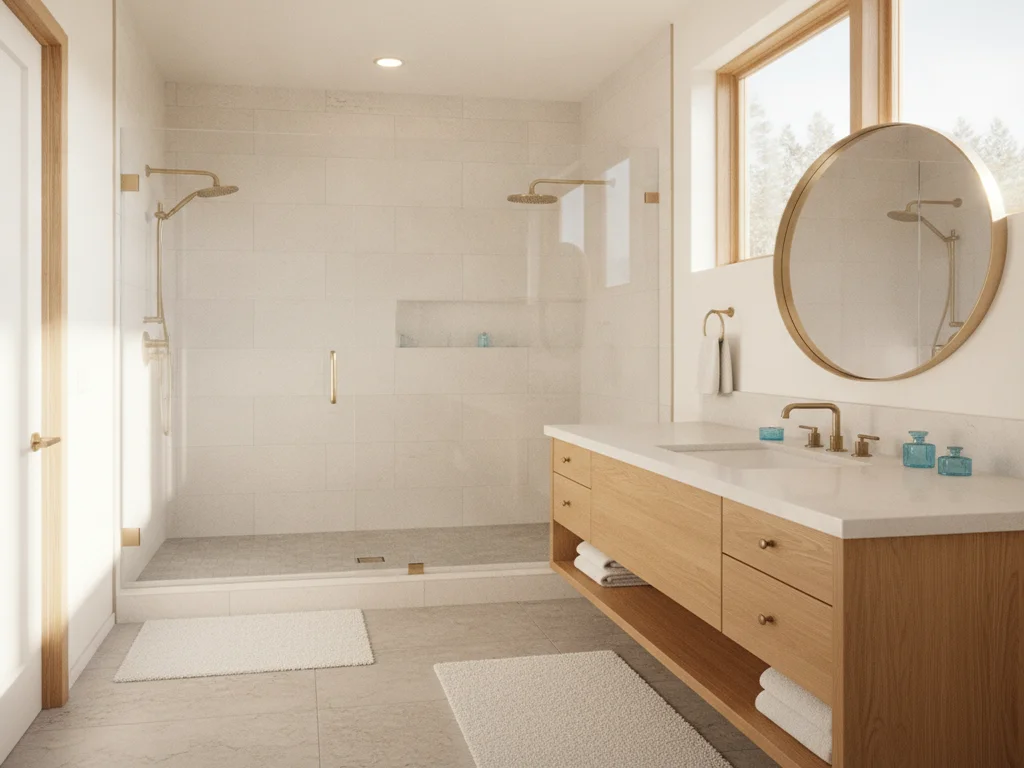
Layout changes cost real money; mirrors and lighting don't, and they do a disproportionate amount of the work in making a small bathroom feel larger. This Old House recommends replacing a small medicine cabinet with a large, wall-to-wall mirror — sized to reflect a window or light source where possible — which visually doubles the perceived depth of the room.
Lighting matters as much as the mirror itself: vanity lights flanking the mirror rather than mounted above it, in the 3,000K-4,000K range, light the face evenly instead of casting the shadows a single overhead fixture creates. In an older Vancouver home, adding or enlarging a window (or a skylight, where the roofline allows) brings in natural light that no fixture fully replicates — This Old House notes that light from above, via skylights or above-eye-level windows, maximizes brightness while preserving privacy in a small footprint. A central-city condo bath usually can't add a window, which makes layered artificial lighting and mirror placement do even more of the work.
Big-impact tile
Tile is the highest-visibility material decision in a small bathroom, and the highest-leverage one. Large-format tile reduces the number of grout lines the eye has to process, which reads as a cleaner, larger surface than the same square footage in small mosaic tile. Running that tile continuously from floor to wall — rather than stopping at a half-height accent line — extends the sightline instead of chopping the room into segments.
Light, neutral tones reflect more of the light this guide already covers above, but a single big-impact material choice — a bold floor tile, a full-height accent wall in the shower — can do more for a small room's character than a wall of neutral subway tile everywhere. The goal is one clear focal surface, not several competing ones.
Putting it together in a Vancouver floor plan
None of these ideas work in isolation as well as they do combined: a pocket door frees the wall for a wall-mounted vanity, a corner or curbless shower frees the floor a straight-run enclosure would take, and a large mirror with layered lighting makes the resulting room read bigger than its square footage. That's the same system-level thinking a full bathroom remodel applies when the whole room — not just one fixture — is on the table.
For what a project like this actually costs, including the plumbing and waterproofing work a layout change like a pocket door or curbless shower typically involves, see our small bathroom remodel cost guide, which covers pricing across our Clark County service area including Vancouver.
Ready to plan your Clark County bathroom?
Licensed & insured · 3-year workmanship warranty
Frequently asked questions
- What is the smallest a bathroom in an older Vancouver home can be and still work well?
- There's no single legal minimum for a residential bathroom's overall size, but NKBA's planning guidelines (30" of clear floor space at each fixture, a 36"x36" minimum shower) are a useful floor for comfort. Most Hough, Carter Park, and Shumway bungalow bathrooms run 5x7 to 5x8 feet — tight, but workable with the layout choices in this guide, especially a pocket door and a corner or curbless shower.
- Do pocket doors actually save enough space to matter?
- Yes — a swinging door typically needs a 6-10 sq ft clear arc that can't hold a vanity or storage. In a 5x7 room, that's often 15-20% of the total floor area. This Old House's Tom Silva notes the tradeoff: pocket-door hardware quality matters more than on a standard swinging door, since cheap track systems can bind or make noise over time.
- What size shower is considered standard, and does a small bathroom have to meet ADA dimensions?
- NKBA recommends a 36"x36" minimum interior for a comfortable one-person shower. Full ADA/ICC A117.1 accessible shower dimensions (36"x48" transfer, 30"x60" roll-in) apply when a project is targeting accessibility compliance specifically — most single-family remodels aren't required to meet those, but they're a useful reference if aging in place is a goal.
- Should I remove the tub in a small single bathroom?
- It depends on the household. If the tub isn't being used, converting it to a curbless or corner shower is usually the highest-impact layout change available in a small footprint — it opens both visual and physical space. If it's the only bathing option for kids or the household wants resale flexibility, keeping a compact tub and applying the other ideas here (vanity, door, lighting, tile) is a reasonable middle ground.
- Is a small central-city Vancouver condo bathroom different to remodel than a bungalow bathroom?
- The layout principles are the same, but the constraints differ. A Hough or Carter Park bungalow bathroom can sometimes gain space by relocating a door or adding a window; a condo bathroom is usually boxed in by shared walls, a fixed plumbing stack, and building HOA rules on what can move. That makes vanity choice, mirror/lighting, and tile the highest-leverage moves in a condo, since layout changes are more limited.
Sources
- NKBA — Bath Planning Guidelines with Access Standards
- NKBA — Kitchen & Bath Planning Guidelines
- U.S. Access Board — ADA Standards, Chapter 6: Bathing Rooms
- ICC — A117.1, Chapter 11: Dwelling Units and Sleeping Units
- This Old House — Small Bathroom Layout Ideas That Work and Inspire
- This Old House — 10 Clever Ways to Make a Small Bathroom Look Larger
Claims and figures are drawn from the sources above and provided for general guidance; your project may vary. Photography is illustrative of design concepts. For a fixed price on your specific bathroom, request a free estimate.